In this tutorial I’ll teach how to setup a github action to auto upload and bump the revisions of your scripts directly from github repository everytime you commit!
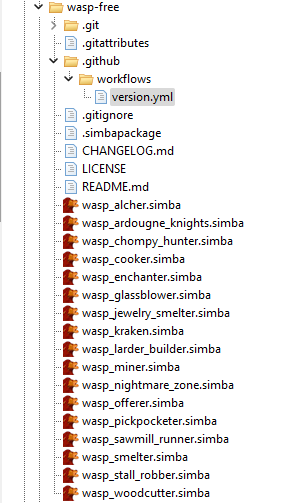
First, make sure you have a repository setup with your scripts like so:

Make sure your scripts that are uploaded to the website have their SCRIPT_ID and SCRIPT_REVISION added:

If they don’t, download your own script from the scripts page to get it.
The SCRIPT_REVISION is actually optional at this point but it will be added to your script anyway once the action runs.
Now, you need to setup your account password (and email maybe). The backend of (https://waspscripts.com) actually has support for email and password login, it’s just not available through the UI. Open up your account profile page:
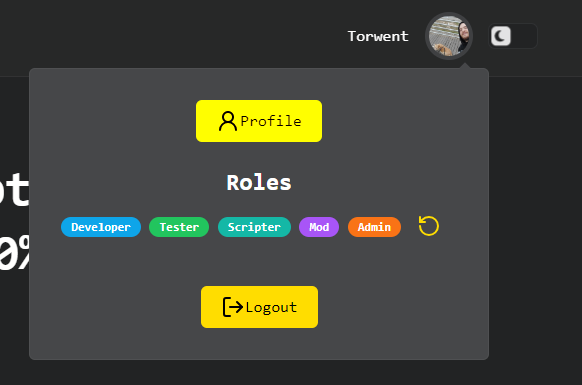
And make sure the email displayed belongs to you, if not change it and also add a password of your chosing:

If you do change email you will need to check the confirmation emails you get. On both emails.
Anyway, moving on. Now, on the root of your repository, create the following folders:
.github/workflows/Inside of .github/workflows/ create a yaml file, you can name it whatever you want as long as the extension is .yml but I like to call it version.yml.
Open .github/workflows/version.yml and add the following:
name: Version
on:
  push:
    branches: [master]
  pull_request:
    branches: [master]

jobs:
  build:
    runs-on: ubuntu-latest
    steps:
      - uses: actions/checkout@v3.2.0

      - name: Get changed files
        id: changed-files
        uses: tj-actions/changed-files@v35.2.0

      - name: Upload to waspscripts.com
        uses: Torwent/wasp-upload-action@master
        with:
          SB_URL: ${{ secrets.SB_URL }}
          SB_ANON_KEY: ${{ secrets.SB_ANON_KEY }}
          EMAIL: ${{ secrets.EMAIL }}
          PASSWORD: ${{ secrets.PASSWORD }}
          MODIFIED_FILES: ${{ steps.changed-files.outputs.all_changed_files }}

      - name: Commit and push changes
        run: |
          git config --global user.name 'WaspBot'
          git config --global user.email 'wasp@waspscripts.com'
          git commit -am ""chore: github action""
          git push
If your main branch is called ""main"" or whatever else instead of ""master"" make sure to change it accordingly.
This is a very simple usage example and you can modify it if you want but I would leave it as is if you don’t know what you are doing.
It’s also about time I explain what github action are. The easiest way to put it with this file as an example is:
- Every time you do a relevant github event, in this case,
pushany change tomasterbranch this instructions will run:
on:
  push:
    branches: [master]
  pull_request:
branches: [master]name: Version- A container with the latest stable ubuntu version will run (if you don’t know a what a container is, imagine it like a ultra light VM) and the following steps will be followed in order on it:
jobs:
  build:
    runs-on: ubuntu-latest
steps:- Steps are a list of commands that can be either custom sets of instructions like a list of command line instructions to run or an entire external github action to run. External actions are a github action repository which follows the pattern ""user/project@version"".
- first it runs
actions/checkout@v3.2.0which is another github action by GitHub themselves. In a nutshell, this will make a copy of our project repository in our container available. - Next it runs
tj-actions/changed-files@v35.2.0this is optional but highly recommend. You can also use another action that achieves the same, rither from someone else or your own. What it does is make a list of changed files, one we can use later. Otherwise what will happen is that we have to tell my github action to bump scripts revision everytime even if they didnt change at all. - Next we finally run my github action
Torwent/wasp-upload-action@masterpersonally I use the master branch myself but if you prefer to not have unexpected changes messing with you you can choose one of the versions released on that project repository. I do not change it often though and actually consider it as a ""complete"" project. - Now in this one notice you have a
withentry, this is how you pass arguments to github actions that accept them. We are going to ignore all except the last one for now but do take notice of their name since they describe what they are for. MODIFIED_FILES: ${{ steps.changed-files.outputs.all_changed_files }}for MODIFIED_FILES we pass the results of the previous action we ran.- Anyway, this will do a couple of things:
- it wil login to my database with your username and password. Check the latest revision of each script with the SCRIPT_ID line to get the currently live revision and update the SCRIPT_REVISION line with it. If it’s missing, it will be added.
- It will then upload the script under your username if you are the owner of that SCRIPT_ID (this is checked server sided too, so don’t bother trying funny stuff).
- With this done the main purpose of this is complete. We have one last step in our action which is optional but I find it pretty useful and it’s the first example of a non github action step.
- So as I explained, this is all running on a container. And we just modified out files with my action to have their SCRIPT_REVISION updated before uploading them. This last step will be useful if you want to have this changes updated in your github repository, otherwise you can just delete this last step. It will run the following bash commands:
git config --global user.name 'WaspBot'
git config --global user.email 'wasp@waspscripts.com'
git commit -am ""chore: github action""
git push- You can change this stuff if you want but basically, it will commit the changes made on the container back to your project under the username ""WaspBot"" with the email ""wasp@waspscripts.com"" with the commit message ""chore: github action"".
And that’s what this file does. Now, lets go back to this:
SB_URL: ${{ secrets.SB_URL }}
SB_ANON_KEY: ${{ secrets.SB_ANON_KEY }}
EMAIL: ${{ secrets.EMAIL }}
PASSWORD: ${{ secrets.PASSWORD }}
This variables, you could set them straight in the file like so:
SB_URL: SB_URL
SB_ANON_KEY: SB_ANON_KEY
EMAIL: MY_EMAIL@mail.com
PASSWORD: MY_PASSWORD
But this is a terrible idea, specially if it’s a public repository because it will be visible for everyone. If it’s not public, it’s still a bad idea because maybe you make it public one day and it’s saved in your git history. GitHub has this neat thing which are called repository secrets which you can add and will be hidden from everyone except for your repository actions.
To add them go to your repository page on GitHub, go to Settings > Secretes and Variables > actions tab of your repo:
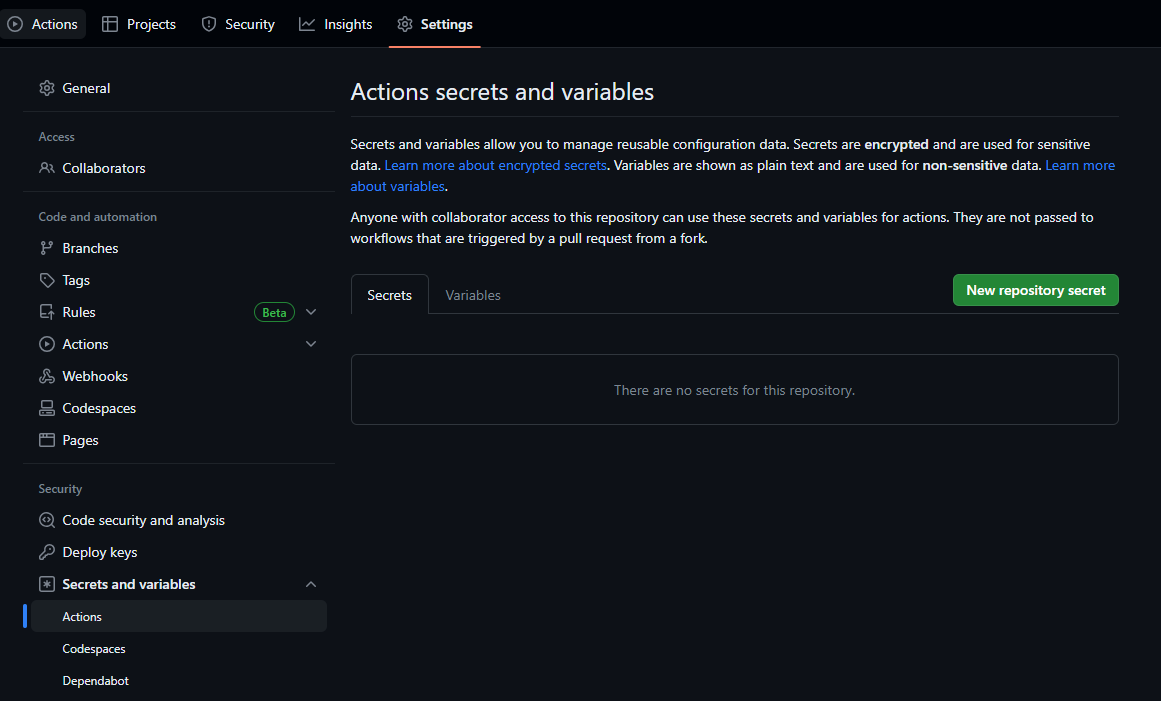
In here you will add the following secrets with this exact name and string:
name: SB_URL
string: https://db.waspscripts.com
name: SB_ANON_KEY
string: eyJ0eXAiOiJKV1QiLCJhbGciOiJIUzI1NiJ9.eyJpc3MiOiJzdXBhYmFzZSIsImlhdCI6MTcxOTQ5MDgwMCwiZXhwIjo0ODc1MTY0NDAwLCJyb2xlIjoiYW5vbiJ9.pKuuhYK-xxOWBHg3mqaxNptyvCpE5n-cjhxN3GQKr2IThis two don’t actually have to be secrets, they can be publicly available but I prefer to not have them easily visible for everyone in the world if that makes sense. This is what helps what allows you to connect to my database programatically. https://db.waspscripts.com is the url for my database and SB_ANON_KEY it’s a public key needed for connection.
Now for the last 2, add your email and password respectively:
name: EMAIL
string: my_email@mail.com
name: PASSWORD
string: my_password123While you are here, if you kept the last step to update your scripts revision, go to ""Actions > General"" on the left side panel and scroll to the bottom to ""Workflow permissions"":

Make sure that:
- Read and right permissions is enabled
- Allow GitHub Actions to create and approve pull requests is toggle on
And with this you should be done!
Your next commit should trigger the workflow which you can see it happened in the actions tab: 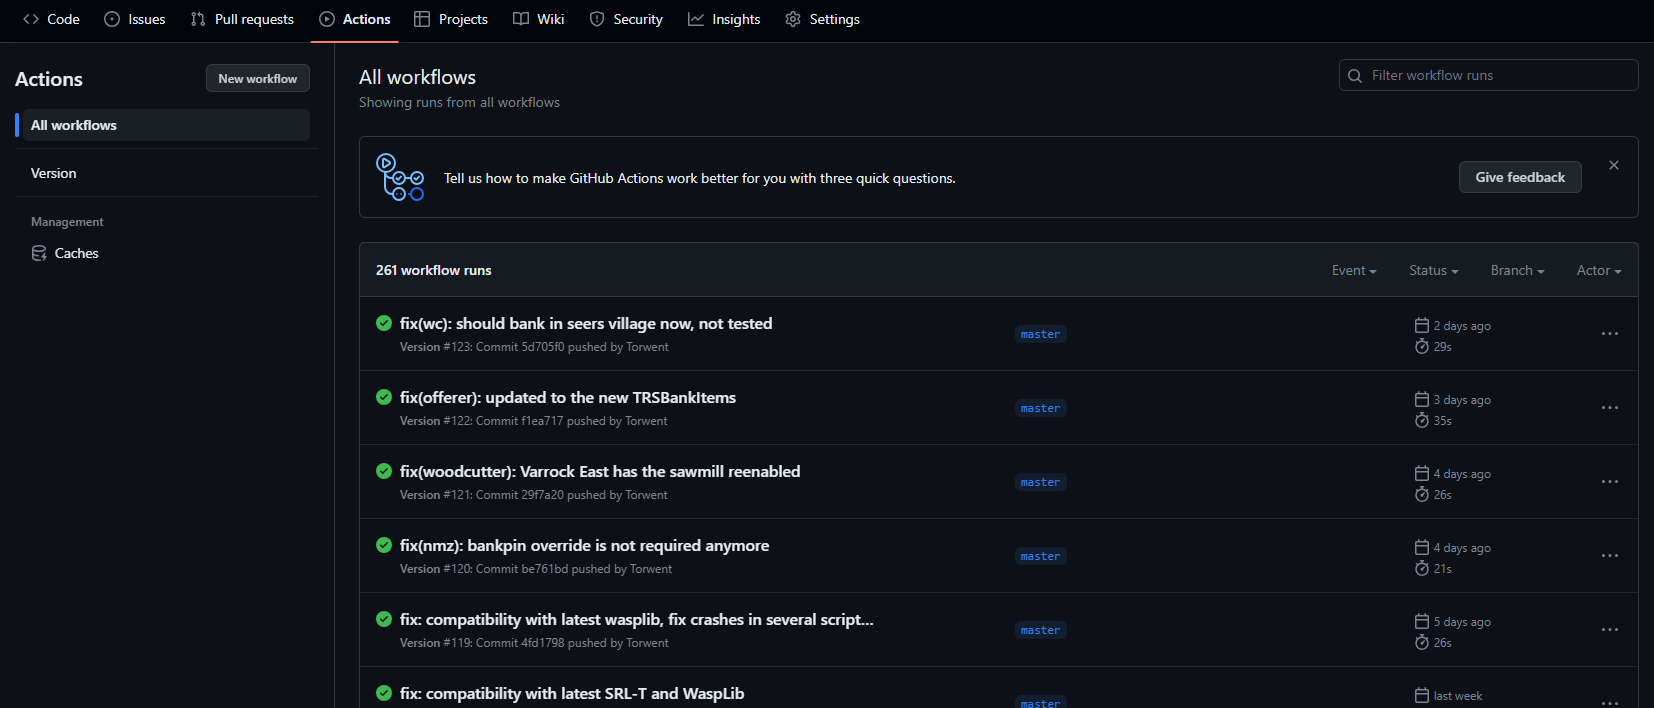 And if everything went well you should see it green, the website should have the new revision of your script available and if you kept the last step, your repo should get the files revision updated in the repository!
I hope this is useful to you, thank you for reading :)