Introduction
There’s 3 ways you can install packages to linux.
The GUI install, the manual install and the git install.
The GUI install has the benefit that you get update notifications and it’s faster to update later on.
Git is also very convenient but mainly focused on developers.
Manual is a bit annoying to update but it’s useful to know how to do it to fix some issues sometimes.
GUI install
This is by far the most convenient way for regular users and it’s fairly easy.
First open Simba.
Then click on the package 📦 icon: 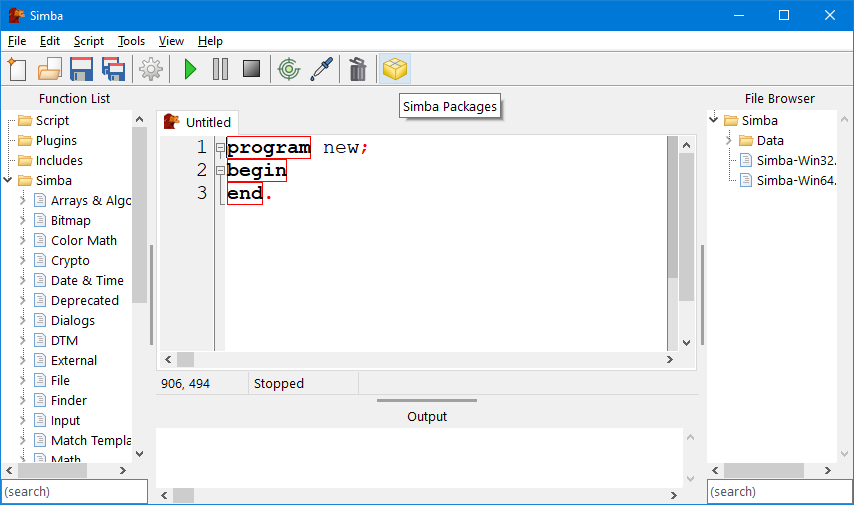
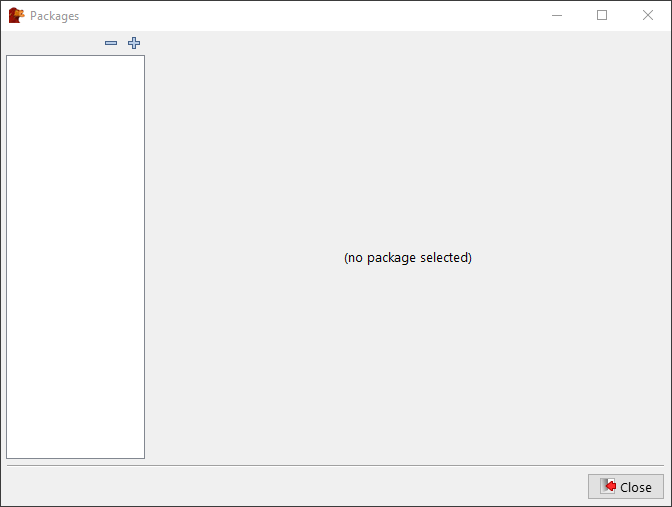
In the window that opens up, click the plus icon in the top left corner.
Paste the link of the package you want to install… For example: https://github.com/Torwent/wasp-free
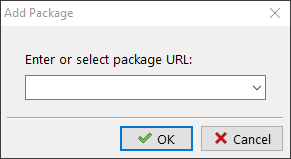
Click Ok and then click Install
And that’s it… You’ve installed a package.
You will notice now that sometimes, the package 📦 icon will have a green plus icon like so:
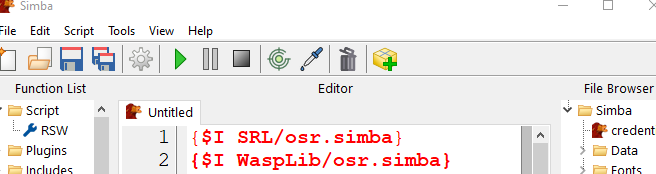
That means that one of the packages you installed via the GUI has updates available.
To update, go to the package manager, open the package you want to update and click install again.
Git installation
This assumes you already have git installed.
Go to the repository you want to install and open it’s .simbapackage file for example, my wasp-free package: https://github.com/Torwent/wasp-free/blob/master/.simbapackage
Take note of the directory= because that’s where you need to clone the package to.
Go to that Simba directory, in this case, Simba/Scripts and open the command line there.
Then simply clone the repo:
git clone https://github.com/Torwent/wasp-free.gitAnd that’s it.
To update it just pull the changes while you are in the directory:
cd Simba/Scripts/wasp-free
git pull
Manual installation
For manual installation you only need to download the package you want, let’s use one of mine as an example: https://github.com/Torwent/wasp-free

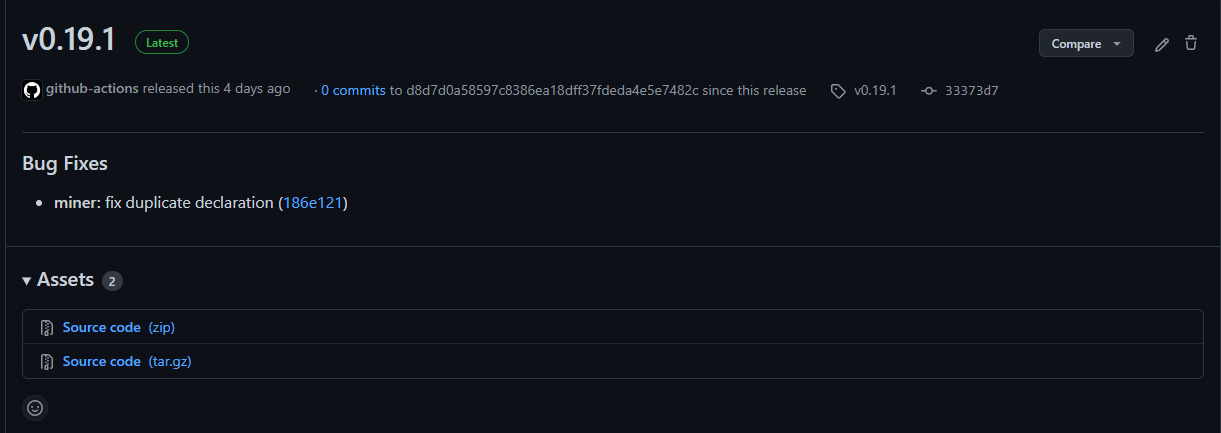
If the package has a release, you can also use that instead, chances are it might be more stable than downloading the rolling release master-branch:

Once you have the zip downloaded, unzip it: 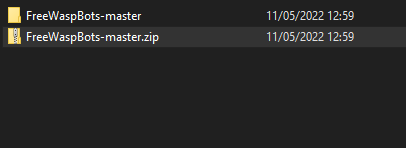
Make sure the files are right inside the unzipped folder, some unzipping tools will create something like:
wasp-free-master/wasp-free-master/files...So if this is your case, make it so it’s:
wasp-free-master/files ...Anyway, then rename the to match it’s intended name and move it to it’s destination. If you don’t know what it’s name is intended to be or it’s detination you can find it in the .simbapackage file: 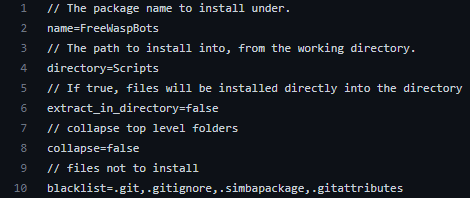
So in this case, we are going to rename this folder to wasp-free and move it to Simba/Scripts.
And that’s it. You’ve manually installed a package! To update it you need to redo the whole process which is a bit annoying.